It is possible to ingest data that has been archived with SAP Archive Administration (SARA). You can extract archived data using the SNP Glue™ transparentization tool and ingest it into Datafridge with the archive run. Here, the archive run value is added to data that was transparentized so that it can be easily identified later in the target storage table.
The following prerequisites exist for the extraction of archived data:
-
Complete the archiving sessions for objects that you want to execute in the extraction.
-
Set up transparent binary storage in Storage Management.
Proceed as follows to set up the transparent binary storage:
-
Start transaction /DVD/SM_SETUP.
-
In the Storage ID field, enter ZT_TRFILE.
-
In the Storage type field, enter SM_TRS_BIN.
-
In the Description field, enter a suitable description, e.g. Transparent bin to CSV files.
-
In the Binary storage ID field, enter ZT_FILE.
-
In the File parameters area, select the following options:
-
Use CSV files
-
Include header
-
Put values into quotes
-
In the Delimiter type field, enter a semicolon.
-
Click Save.
Continue with the setup by using the file storage as a binary storage:
-
In the Storage ID field, enter ZT_FILE.
-
In the Storage type field, enter BINFILE.
-
In the Descriptionfield, enter a suitable description, e.g.File.
-
In the File path field, enter a suitable file path.
-
Click Save.
The setup is complete.
Proceed as follows to perform the extraction:
-
Start transaction /DVD/SARA.
-
Create a new run ID.
-
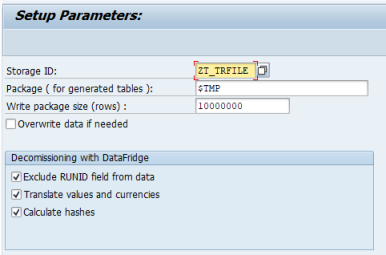
In the Storage ID field, enter ZT_TRFILE.
-
In the Package (for generated tables) field, enter $TMP.
-
In the Write package size (rows) field, enter 10000000.
-
In the Decommissioning withDatafridge area, select the following options:
-
Exclude run ID field from data
-
Translate values and currencies
-
Calculate hashes
-
Click Save.
-
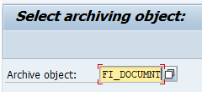
Select the archiving object and click Save.
-
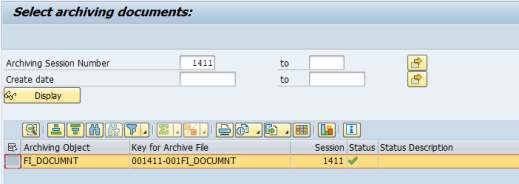
In the Archiving session number field(s), select the archiving documents or archiving sessions and click Save.
-
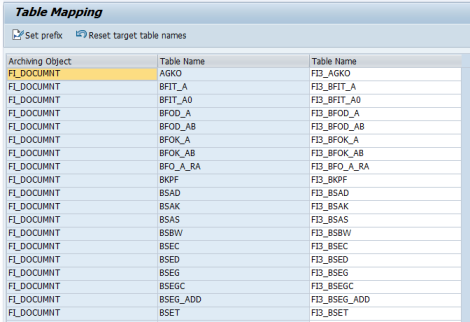
Create the table mapping and click Save.
-
Click Set prefix to define a prefix for all the target tables.
-
Execute the following steps:
-
Generate table check tasks
-
Check consistency of tables
-
Generate migration tasks
-
Create tables
-
Import data
-
Generate table pool file
-
Export calculated hashes
-
Export settings for object list generation
-
Reorganize CSV files. This task will rename and move extracted files to a specified directory.

The extraction is complete.
-
The target tables must already exist in the logical system.
Proceed as follows to execute the ingestion:
-
Start transaction /DVD/RMX_AR and create a new archive run.
-
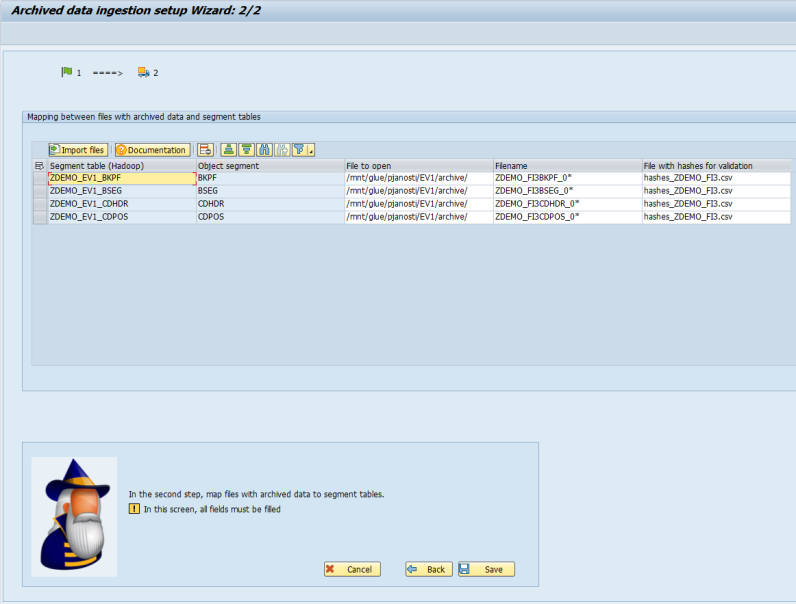
Execute the step Archived data ingestion > RMX setup > Archive Ingestion Setup Wizard.
-
Select a logical system and click Continue.
-
Click Import files and select a table pool file that was generated during the extraction process. This will automatically create a mapping between the extracted files and the already existing tables in Datafridge.
-
Check the entries and click Save.
-
Execute all the steps from the Load of metadata subfolder:
-
Load settings for object list generation
-
Generate object list load tasks
-
Run object list load tasks
-
Load hashes for validation
-
Execute the step Generate extractors.
-
Execute the step Generate data load tasks.
-
Execute the step Run data load tasks.
The ingestion is complete.